Add Customers #
After being installed successfully, ConnectPOS will start synchronizing your E-commerce site database to POS, including customers and customer groups. Any changes you made in your E-commerce site customer database will be synced to ConnectPOS and vice versa.
Create a new customer #
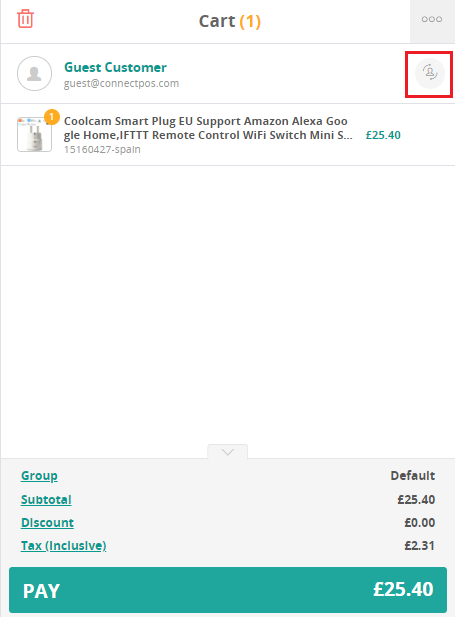
To create a new customer and add to cart: Click the Change Customer icon next to Guest Customer, and click Create New.
- Fill in the required information.
- Assign the customer to a customer group (if applicable)
- Click Save
The newly created customer will be added to your customer list on the E-commerce site.
Find an existing customer #
One of the data that ConnectPOS synchronizes with Magento is customer data, including all customer information (their contact information, purchase history and reward points) and customer groups.
To find an existing customer in the system:
- Click Guest Customer to open the search bar.
- Type in name, email or phone number to find the customer.
- Click on the customer to add to cart.
Check out as Guest #
By default, the order will be checked out with Guest Customer provided that you’ve enabled “Check out as Guest” for the stores in POS Settings.
To enable “Check out as Guest” for a store:
- On Select Register page: Click on Manage Outlets
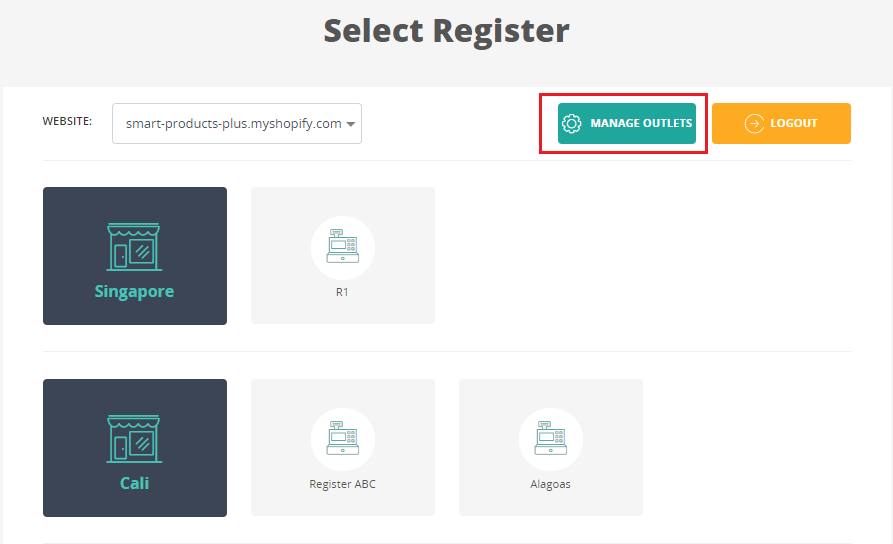
- Choose your outlet by clicking on its name
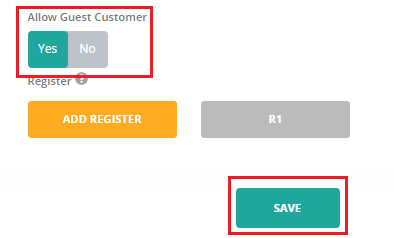
- On the Edit Outlet screen, find Allow Guest Customer section
- Toggle to Yes to enable checking out as a guest
- Click Save