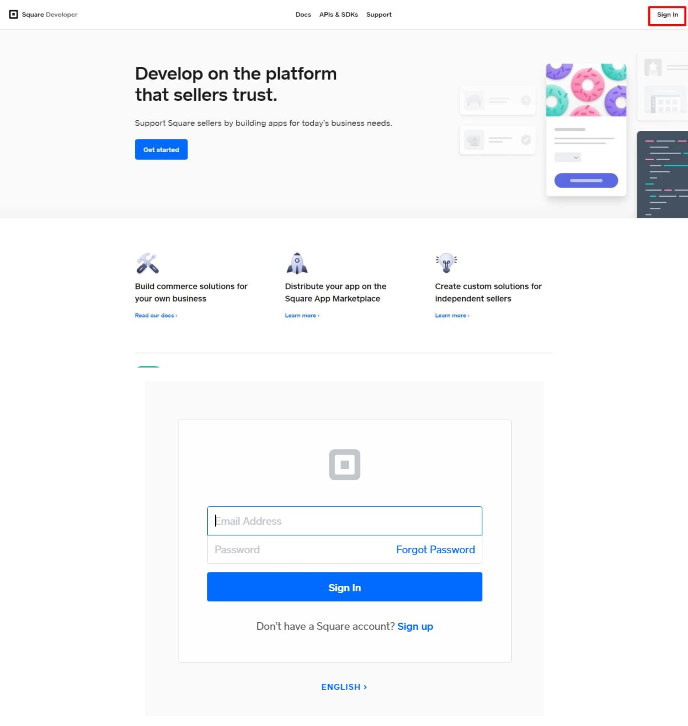
Step 1: Follow this link to sign in your Square account
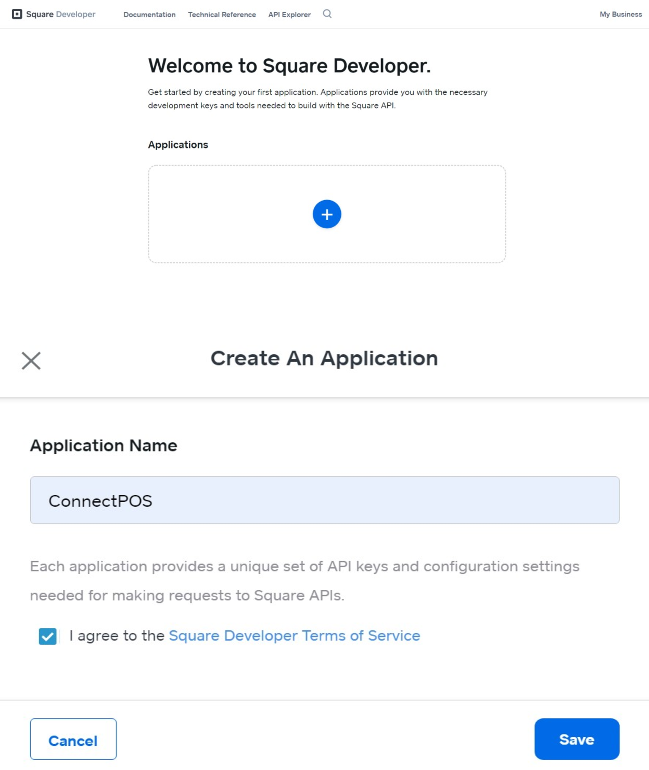
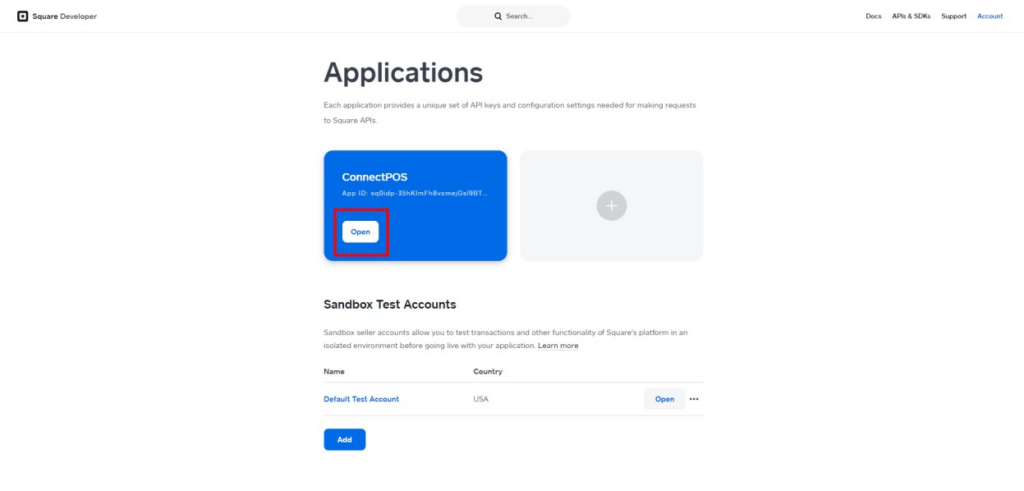
Step 2: Once you have signned in, click on Account > Developer Dashboard > Click the plus sign to add and fill in information to create an application for ConnectPOS
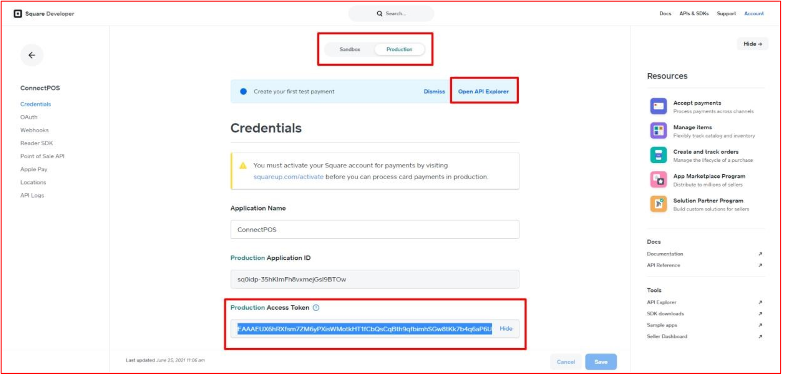
Step 3: In the Credentials menu, switch to Production. Copy the Production Access Token for later use
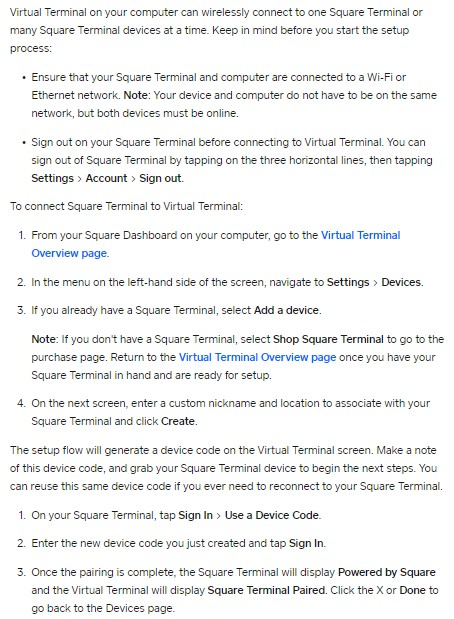
Step 4: Go to the article Connect Square Terminal with Virtual Terminal for In-Person Payments > Follow the Connect Square Terminal to Virtual Terminal’s steps to enable your Square Terminal with the name “ConnectPOS”
Step 5: Go to this site, switch to Production. Select Devices and Create device code > Select the Access token > Choose product_type, location_id, fill in the name (optional) and select idempotency_key > Generate > Run.
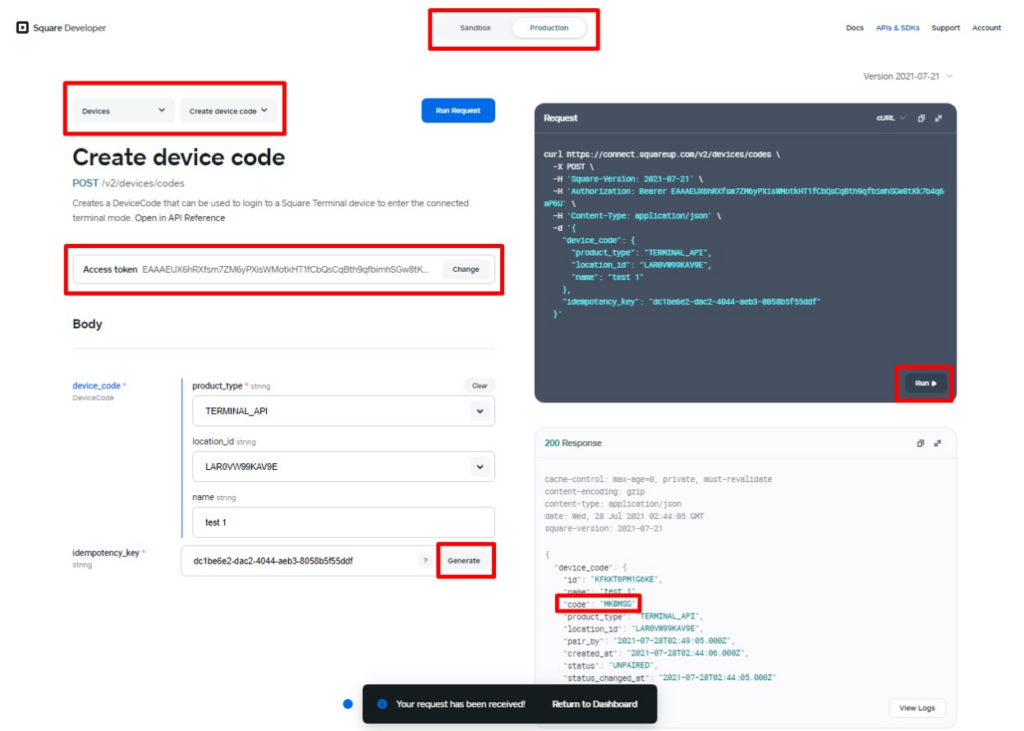
Note: In the above image, the code in the lower left box is shown, however, this is not the device_id.
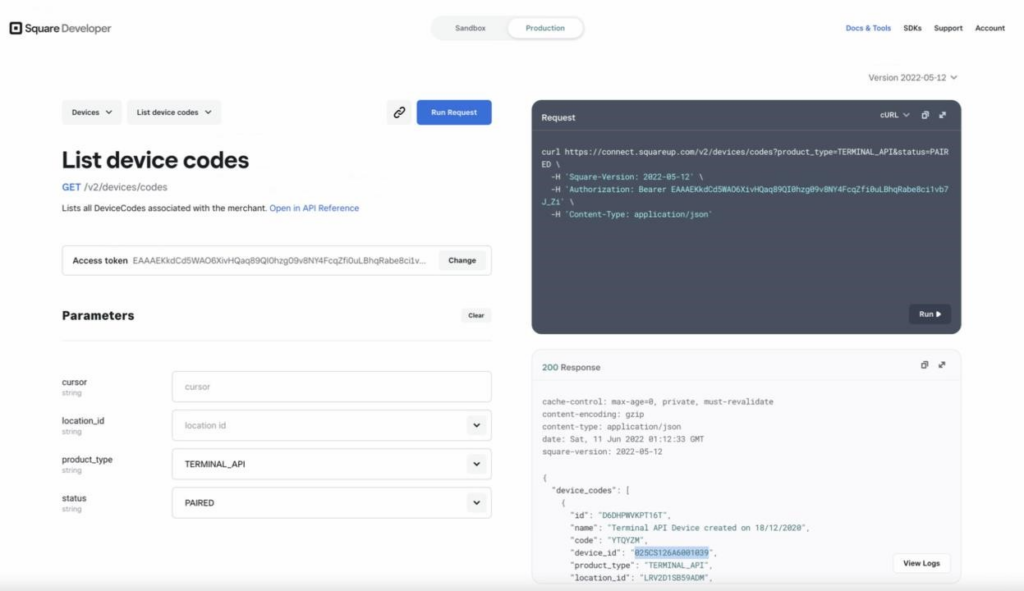
Step 6 Select Devices and List device codes > Select the Access token > Choose location_id (optional), product_type and status: PAIRED > Hit Run > Copy the device_id shows in the lower left box.
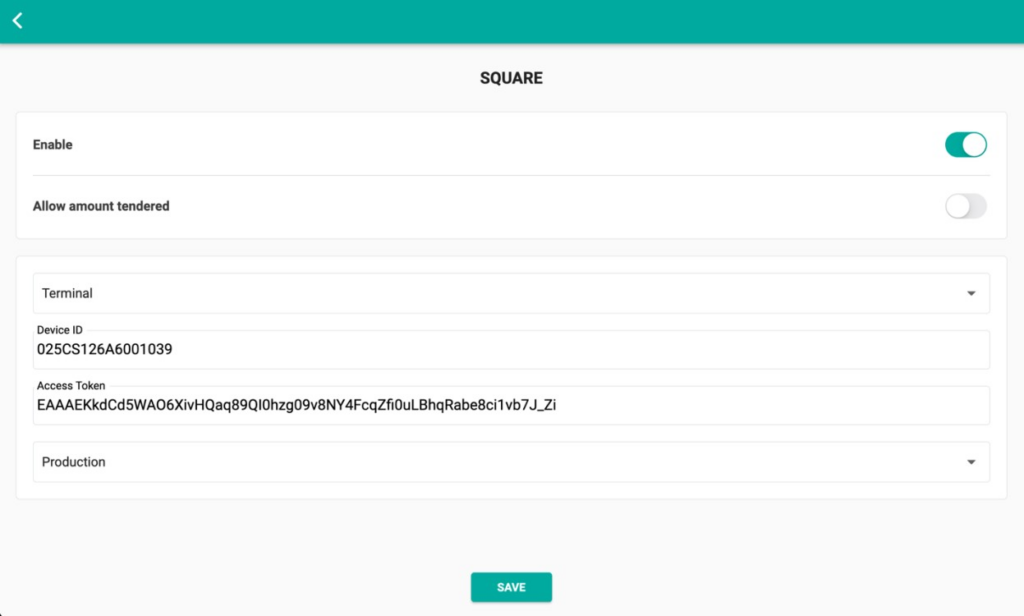
Step 7: Open ConnectPOS app, access the register. Click on Menu > Settings > Payments > Square
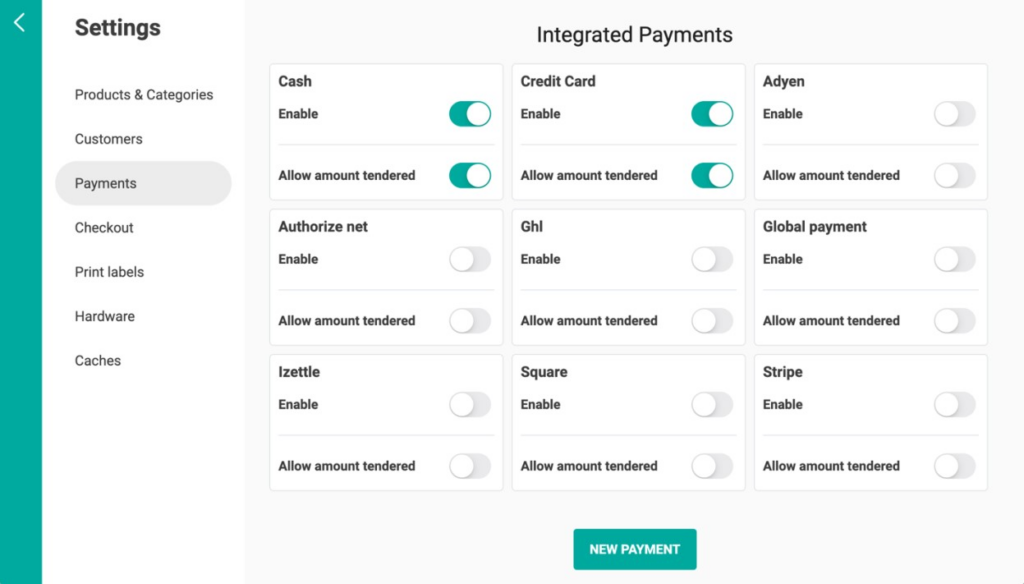
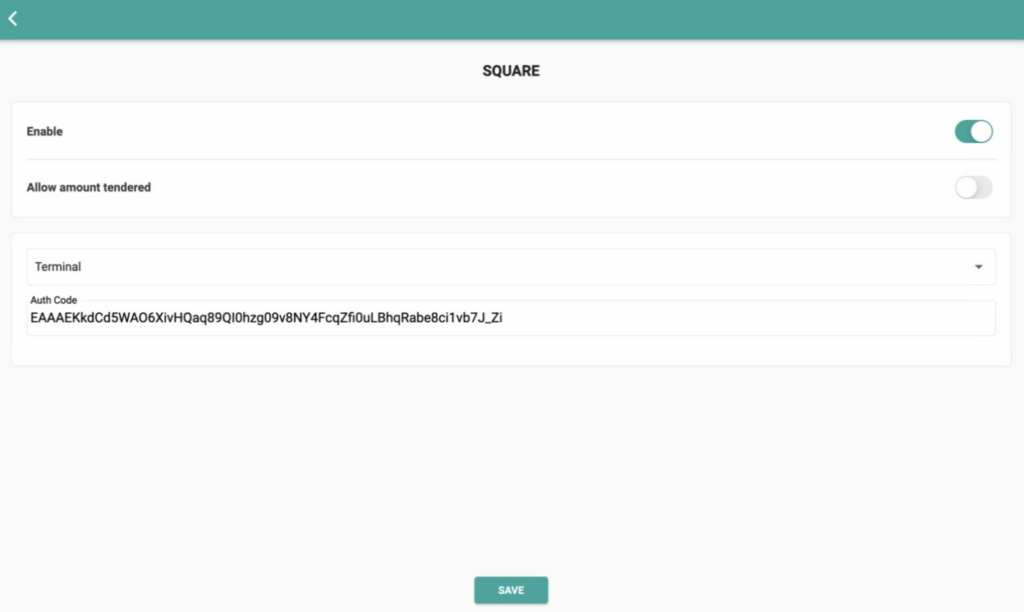
Step 8: Configure the payment:
- Enable: Whether to use Square for the current outlet
- Allow amount tendered: Whether to allow partial payment for this payment method
- Select type device: Terminal or Card reader
- Auth Code: Fill in the previous Production Access Token Hit Save
Step 9: Configure the payment (continued): Access Square again
- Device ID: Fill in the previous device_id
- Select gateway: Select Production
Hit Save