Setup your Authorize.net payment #
To configure your Authorize.net payment, please follow these steps:
- Open Setting > POS Setting > Payment.
- Find the “Authorize NET” block.
- Input your “API Login ID“.
- Input your “Transaction Key“.
- Toggle “Sandbox Mode” as needed.
- Click on “Save“.

Get your Authorize.net “API Login ID” and “Transaction Key” #
To get your “API Login ID” and “Transaction Key“, please check with your developer, or following the instruction here.
Checkout with Authorize.net #
To create a sale using Authorize.net, please follow these steps:
Make sure the payment is enabled, and your account is ready.
Open Sell Screen. Add items to cart then select customer.
Click “Pay” to proceed to payment.
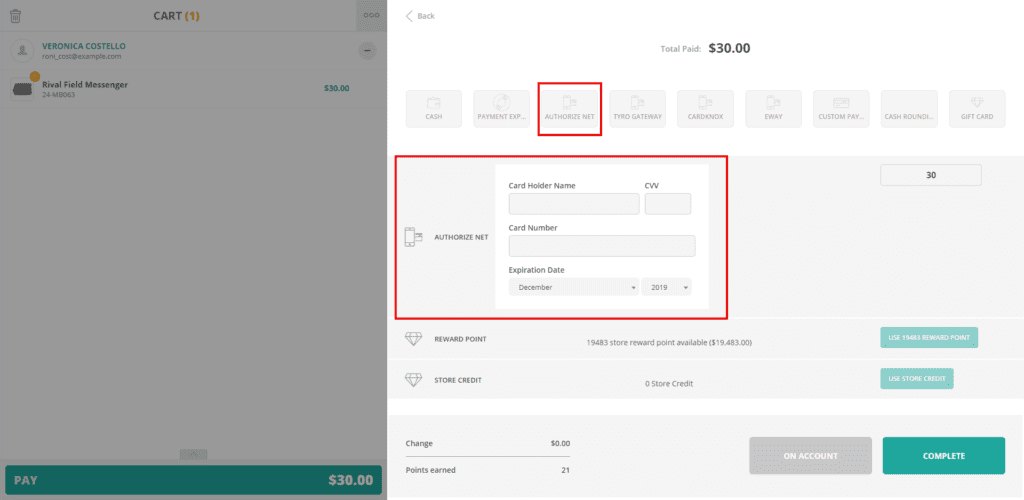
Select “Authorize NET” payment block.
Input your customer card information:
- Card Holder Name.
- CVV.
- Card Number.
- Expiration Date.
Click on “Complete“.
If the card is valid, transaction will be approved, and “Order Success” screen will appears.
Refund orders using Authorize.net #
Before you start, please remember the following requirement:
- Only orders created with Authorize.net can be refunded using Authorize.net
- Order using Split Payment such as Cash/Dummy and Authorize.net cannot be refunded using Authorize.net
- Order using other 3rd party payment cannot be refunded using Authorize.net
To refund an order using Authorize.net, please follow these steps:
- Open Sell Screen.
- Open the Side Menu by clicking on the “burger” icon.
- Click on “Order List“.
- Find the order you need to refund. Click on the order, then click “Refund” button.
- At the refund cart, click on “Pay“.
- Select “Authorize NET” payment block.
- Click “Complete“.
If the transaction is successful, order will be refunded using Authorize.net .


