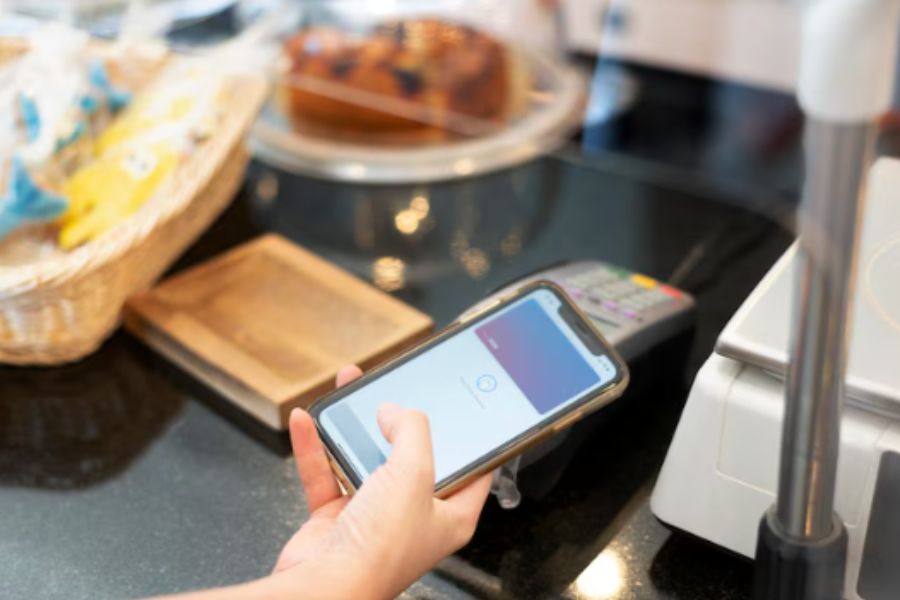
Are you seeking to enhance the efficiency and precision of your business operations by integrating a Point of Sale (POS) system? Look no further. In this comprehensive guide, we will delve into the intricacies of Shopify Quickbooks POS integration, providing you with the knowledge and steps needed to streamline your business processes and achieve greater accuracy in your transactions. Now, let’s get started!
Detailed guide for migrating the Shopify Quickbooks POS integration
Migrating your point of sale (POS) system to Shopify and integrating it with Quickbooks is a meticulous process that requires careful planning and execution. To ensure a smooth transition and maximize the benefits of this integration, we have broken down the steps into a detailed guide:
Step 1: Export your Quickbooks POS data
The first crucial step in migrating to Shopify Quickbooks POS integration is to export your existing data from your Quickbooks POS system. By default, you can export the following data from QuickBooks POS to either Excel or CSV formats.
- Inventory items
- Customers
- Vendors
- Departments
- Employees
Here is the detailed guide:
- Launch the QuickBooks POS application on your desktop computer, and navigate to the top menu where you’ll find the “File” option.
- In the “Data Export Wizard”, opt for “Inventory Items,” and proceed by clicking “Next.”
- Fill in the necessary information for the following fields:
- Select a destination file: Pick where you want to save the file.
- Write records to (sheet): Choose the worksheet where the data should be placed.
- Begin exporting data to row: Specify the starting row for your data.
- In the “Choose an export template” section, you can select the default inventory template or manually configure the mapping to align the details with what you intend to export from QuickBooks POS. Then, click “Next.”
- Verify that the records are prepared for export, and when you’re ready, click “Export.”
Step 2: Get your Stocky API key
You’ll need to obtain your Stocky API (Application Programming Interface) key to facilitate seamless data transfer between your Shopify store and Quickbooks. Follow these steps to acquire it:
- Log in to your Shopify store’s admin panel with the necessary permissions.
- Go to the “Apps and sale channel” section in the Shopify admin.
- Use the search bar within the “Apps and sale channel” section to locate the Stocky app.
- Access the Stocky app settings and open the API key.
Step 3: Upload the data files from your QuickBooks POS to Shopify
Now that you have your Quickbooks POS data files and Stocky API key ready, it’s time to import your data into Shopify:
- Log in to your Shopify admin panel.
- Once again, go to the “Apps and sales channel” section within Shopify
- Click “QuickBooks Connector” on the page for “apps and sales channel”.
- Click “Open app”.
- Click “Get started” from the “QuickBooks Connector app”.
- Upload your QuickBooks data files in the section labeled Upload QuickBooks POS data files:
- In the Inventory section: click “Add data file”, and then upload your inventory items data file.
- In the Customers section: click “Add data file”, and then upload your customer’s data file.
- In the Vendors section: click “Add data file”, and then upload your vendors’ data file.
- Click “Next”.
Step 4: Choose your barcode mapping and match it to your locations
Barcode mapping is essential to ensure that your product data remains consistent across both systems.
Here’s what you need to do:
- Compare the product barcodes in your Quickbooks POS system with those in Shopify. Make sure they match or make the necessary adjustments.
- Similarly, map your store locations or branches in Quickbooks POS to their counterparts in Shopify. This is crucial for accurate inventory tracking.
Step 5: Begin migrating and integrating your accounting data into Shopify
After you’ve finished mapping your locations, you can commence the migration process. To begin, simply click the “Start migration” button, and the migration process will kick off.
The duration of the process can vary and may take anywhere from 5 to 6 hours, depending on the amount of data you are migrating to Shopify POS.
After finishing the migrating to Shopify POS, you now can integrate QuickBooks accounting software with Shopify. This step is designed to ensure that your financial data and sales information remain synchronized between QuickBooks accounting software and Shopify.
Other methods for migrating from QuickBooks POS to Shopify POS
While the detailed guide mentioned earlier provides a structured approach to migrating from QuickBooks POS to Shopify POS, there are alternative methods to consider based on your specific needs and preferences.
Here are two notable alternatives:
Using the alternative method: Migrating from QuickBooks POS to ConnectPOS
ConnectPOS offers an alternative solution for a seamless transition from QuickBooks POS to Shopify POS. This method is especially suitable for businesses seeking an efficient migration process with added features.
ConnectPOS provides a comprehensive approach to the migration, starting with an initial consultation to understand your unique business needs. One of the standout features of ConnectPOS is its ability to securely migrate your data from QuickBooks POS to its system while ensuring the accurate transfer of all essential information.
Once your data is securely migrated, ConnectPOS will facilitate the integration with your Shopify store. This integration establishes real-time synchronization of sales, inventory, and customer data between the two platforms, among others.
Hiring a professional
Another viable alternative for migrating from QuickBooks POS to Shopify POS is to engage the services of a professional. While this method may come at a higher cost, it offers the advantage of saving time and ensuring that the migration process is executed correctly and efficiently.
Thus, choosing the right method for your business should be based on factors such as your budget, technical expertise, the complexity of your data, and your timeline. Whichever method you select, thorough planning, testing, and data validation are essential to ensure a successful migration from QuickBooks POS to Shopify POS.
Hopefully, the step-by-step Shopify Quickbooks POS integration above can help your business operate strongly and bring high profits. In addition, if you would like to find an alternative method, you can contact us – ConnectPOS to easily migrate from Quickbooks POS to Shopify.