Setting up a flexible POS system is the foundational step for any successful omnichannel retailer. Shopify POS, with its deep integration into the Shopify ecosystem, is an excellent choice. However, a rushed or misconfigured installation can lead to costly disruptions.
This comprehensive guide, written by ConnectPOS, walks you through the proven, error-free Shopify POS setup process, guaranteeing your retail operation is seamless from day one.
Highlight:
- An error-free setup relies on meticulous preparation, including verifying hardware compatibility (iOS 15.1+ or Android 10.0+), choosing the correct Shopify Plan (Lite vs. Pro), and setting up all physical store locations and Shopify Payments before installing the app.
- The process requires rigorous end-to-end testing of hardware, payment processing, offline functionality, and data synchronization after configuration to prevent costly in-store failures and inventory discrepancies.
The Risks of A Failed Shopify POS Setup
Nowadays, every second at the checkout counts. A faulty Shopify POS setup can create a ripple effect of negative consequences, transforming an exciting launch into a frustrating ordeal.
- Lost Sales & Customer Churn: The most immediate risk. A disconnected card reader or a crashed app during a peak hour (like Black Friday weekend) means lost transactions. A study found that up to 70% of consumers will abandon a purchase if they experience a slow or faulty POS system, directly impacting your bottom line.
- Inventory Discrepancies: If the POS fails to sync with your Shopify admin, in-store sales won’t accurately deplete online stock, leading to embarrassing and expensive overselling (phantom inventory).
- Staff Frustration & Errors: A confusing or unreliable system slows down your employees, increasing the chance of manual errors in discounts, returns, or cash handling.
- Compliance Risks: Misconfigured tax settings or payment terminals can lead to inaccurate reporting and potential compliance issues, especially concerning sales tax remittance.
Preparing for a Smooth Shopify POS Setup
The key to an error-free Shopify POS setup lies in meticulous pre-setup preparation.
System Requirements and Compatible Devices
Before purchasing any hardware, verify that your devices meet Shopify’s strict compatibility standards. Using unsupported hardware is the single largest cause of POS errors.
- Devices: Use an iPad (Gen 5+) or iPhone (7+) on iOS 15.1+, or Android (10.0+) devices with Google Play Services.
- Recommendation: For stable operations, use dedicated hardware like the Shopify POS Terminal or POS Go to eliminate third-party compatibility issues.
Pro Tip: For permanent retail locations, opt for the dedicated Shopify POS Terminal or POS Go device. These are pre-integrated, eliminating most compatibility and connectivity issues associated with third-party tablets.
Account and Access Preparation
The Shopify Admin must be ready before the app installation:
- Plan Selection: Decide between POS Lite (included, basic) and POS Pro (advanced features, multi-location management).
- Payments: Activate Shopify Payments for seamless integration with all first-party Shopify hardware.
- Locations: Create and enable all physical store and inventory locations under Settings > Locations.
Read more: Shopify POS Lite vs Pro: Features, Pricing, and Key Differences 2026
How to Set Up Shopify POS Quick & Error-free?
To guarantee your Shopify POS setup is fast and without mistakes, you need to follow a structured, meticulous process encompassing installation, configuration, and thorough testing.
Installing and Logging Into Shopify POS
This step links your physical device to your online Shopify store.
- Download the App: Search for “Shopify POS” in the Apple App Store or Google Play Store and download the official app.
- Log In: Use your store owner or designated staff login credentials.
- Select a Retail Location: When prompted, select the specific location (e.g., “Main Street Boutique”) that this device will operate from.
For a complete official resource on setup and feature overview, refer to the Shopify Help Center guide on getting started with Point of Sale.
Configuring Shopify POS Locations
Properly setting up locations dictates where sales are attributed and inventory is drawn from.
- Detailed Steps:
- In the Shopify admin, navigate to Settings > Locations.
- For each retail location, click Edit and ensure the Point of Sale sales channel is selected.
- Set a Priority for fulfillment if you offer “Buy Online, Pick Up In Store.” The highest priority location will attempt to fulfill the order first.
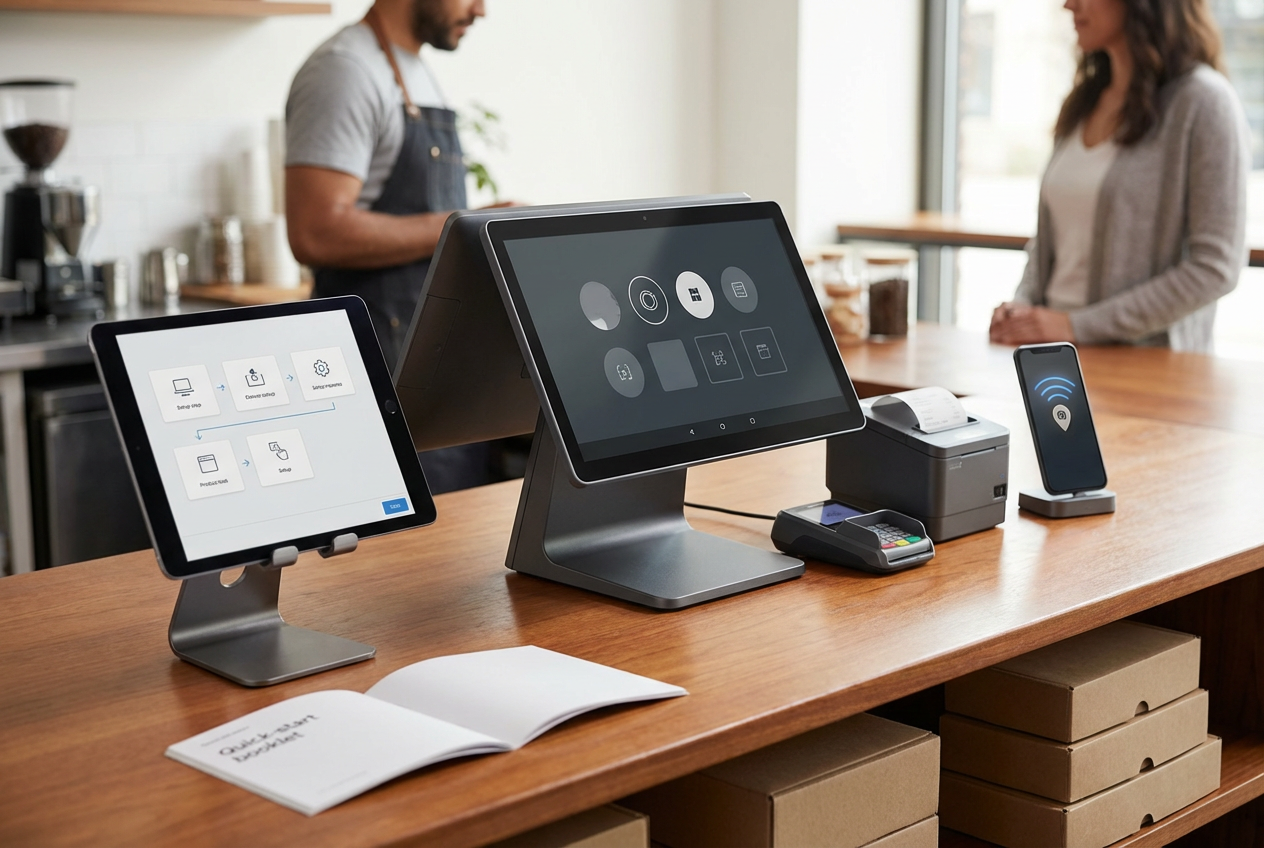
Setting Up Shopify POS Hardware (Error-free)
Connectivity is where most errors occur. Always use a dedicated, wired connection where possible.
- Hardware Setup Workflow (Example: Receipt Printer):
- Unbox and power on the device. Ensure it is fully charged or plugged in.
- In the Shopify POS app, navigate to More > Settings > Set up hardware.
- Select the type of hardware (e.g., Receipt printer) and follow the on-screen pairing instructions (usually via Bluetooth or Ethernet).
- Imperative Step: Test a Print. Do not skip this. Run a test receipt to ensure the connection is stable and the paper roll is correctly loaded.
- Card Reader Setup: For the Shopify Tap & Chip Reader, ensure your iPad/iPhone’s Bluetooth is enabled. The device must be fully charged before the initial pairing.
Read more: What Are My Choices For Shopify POS Hardware?
Configuring Payments for Shopify POS
Confirms all your accepted payment methods are configured and tested.
- Shopify Payments: This is your primary method. Ensure it’s active in the admin. In the POS app, go to More > Settings > Payment types and confirm Credit/Debit shows as Accepted.
- Cash and Custom Payments: Enable Cash and any other payment types you accept (e.g., store credit, layaway).
- Gift Cards: Make sure gift cards are enabled in your admin under Settings > Gift cards. Shopify POS allows you to sell, issue, and redeem both digital and physical gift cards seamlessly.
Setting Up Products for Omni-channel Selling
Omni-channel success requires unified product data.
- Inventory Allocation: In your Shopify admin, for each product, ensure its inventory is tracked and allocated to the correct retail locations.
- Retail Workflow Best Practice: When adding a new product, immediately assign a scannable, unique barcode.
Detailed Steps:
- In Shopify Admin, go to Products.
- Select a product and scroll to the Inventory section.
- Enter a unique Barcode (ISBN, UPC, GTIN, etc.).
- Guarantee Track Quantity is checked and set initial stock levels for all relevant locations.
Organizing POS Smart Grid for Speed
The Smart Grid is the customizable home screen of the Shopify POS app and a major driver of efficient checkout.
- Retail Scenario: During a rush, a cashier needs to quickly apply a “Friends & Family 10%” discount and a “Staff Shirt” item without searching.
- Configuration Steps:
- In your Shopify admin, go to Point of Sale > Smart Grid.
- Customize the grid for the specific location.
- Add Tiles for your most frequent actions:
- Quick Add Products: For unbarcoded items like gift wrapping or basic services.
- Common Discounts: 10% Off, Staff Discount, etc.
- App Shortcuts: Link to your Loyalty app or Shipping app.
Configuring Staff Access and Permissions
Security and accountability are paramount. Assigning granular permissions prevents unauthorized actions.
- Shopify POS Pro Feature: This allows for custom roles (e.g., Senior Sales Associate, Manager) with specific permissions.
- Detailed Steps:
- In the Shopify admin, go to Point of Sale > Staff.
- Create a Staff PIN for each employee. Do not use a shared PIN.
- Assign permissions: Limit access to sensitive functions like issuing refunds, editing taxes, or applying custom discounts to managerial staff only.
- Accountability Insight: Individual staff PINs enable accurate sales attribution, linking every transaction, refund, or shift discrepancy to a specific employee for performance tracking and auditing.
Setting Up Taxes & Receipts
These settings must be accurate to ensure compliance and a professional customer experience.
- Taxes: Navigate to Settings > Taxes and duties. Confirm that your physical store location has the correct sales tax rates applied. Shopify handles the complex part of calculating taxes based on the location’s rules.
- Receipts: Go to Settings > POS receipts in your Shopify Admin. Customize the receipt header and footer to include your return policy, store hours, website URL, and social media handles.
Strategic Growth: When to Consider ConnectPOS
Once you have mastered your initial Shopify POS setup, specific growth challenges may signal the need for an advanced solution like ConnectPOS. It serves as a powerful strategic upgrade for high-volume and complex retail environments:
- Advanced Multi-Location Management: Ideal for retailers with numerous stores requiring real-time, sophisticated inventory synchronization across all channels and warehouses.
- Deeper Staff Control: Offers granular, customizable staff permissions and detailed reporting beyond standard Shopify POS Pro features, essential for large teams and accountability.
- Superior Offline Capabilities: Provides enhanced stability and transaction recording capabilities during internet outages, crucial for maintaining business continuity in unreliable network areas.
- Complex Retail Models: Specializes in handling unique challenges, such as customized loyalty programs, extensive clienteling, and complex pricing rules that may exceed standard Shopify POS limitations.
- High-Volume Reliability: Designed to ensure speed and stability during peak sales periods and high transaction volumes.
FAQs: Shopify POS Setup
- Do I need a paid Shopify plan to use Shopify POS?
Yes. Shopify POS Lite is included with all paid Shopify plans (Basic, Shopify, Advanced). You need an active Shopify store subscription to use the POS functionality.
- Can Shopify POS work offline if the internet goes down?
Yes, to a limited extent. Shopify POS can record cash sales, create customer profiles, and process returns offline.
- How long does it take to set up Shopify POS?
The core setup (installing the app, connecting one card reader and one printer) can take as little as 1-2 hours.
Conclusion
To put it briefly, with the step-by-step guide above to Shopify POS setup, it guarantees fast, profitable retail transactions. For enhanced reliability, complex inventory, and multi-store scaling, upgrade your system to ConnectPOS. Discover superior omnichannel functionality and error-free configuration for your business growth. Contact us to book a demo today!
►►► Optimal solution set for businesses: Shopify POS, Magento POS, BigCommerce POS, WooCommerce POS, NetSuite POS, E-Commerce POS