Using ConnectPOS on iPad: #
Before you start making sale with iZettle, you need to connect the card reader with iPad via Bluetooth.
To connect your iZettle card reader with the iPad:
- Enable Bluetooth on your iPad.
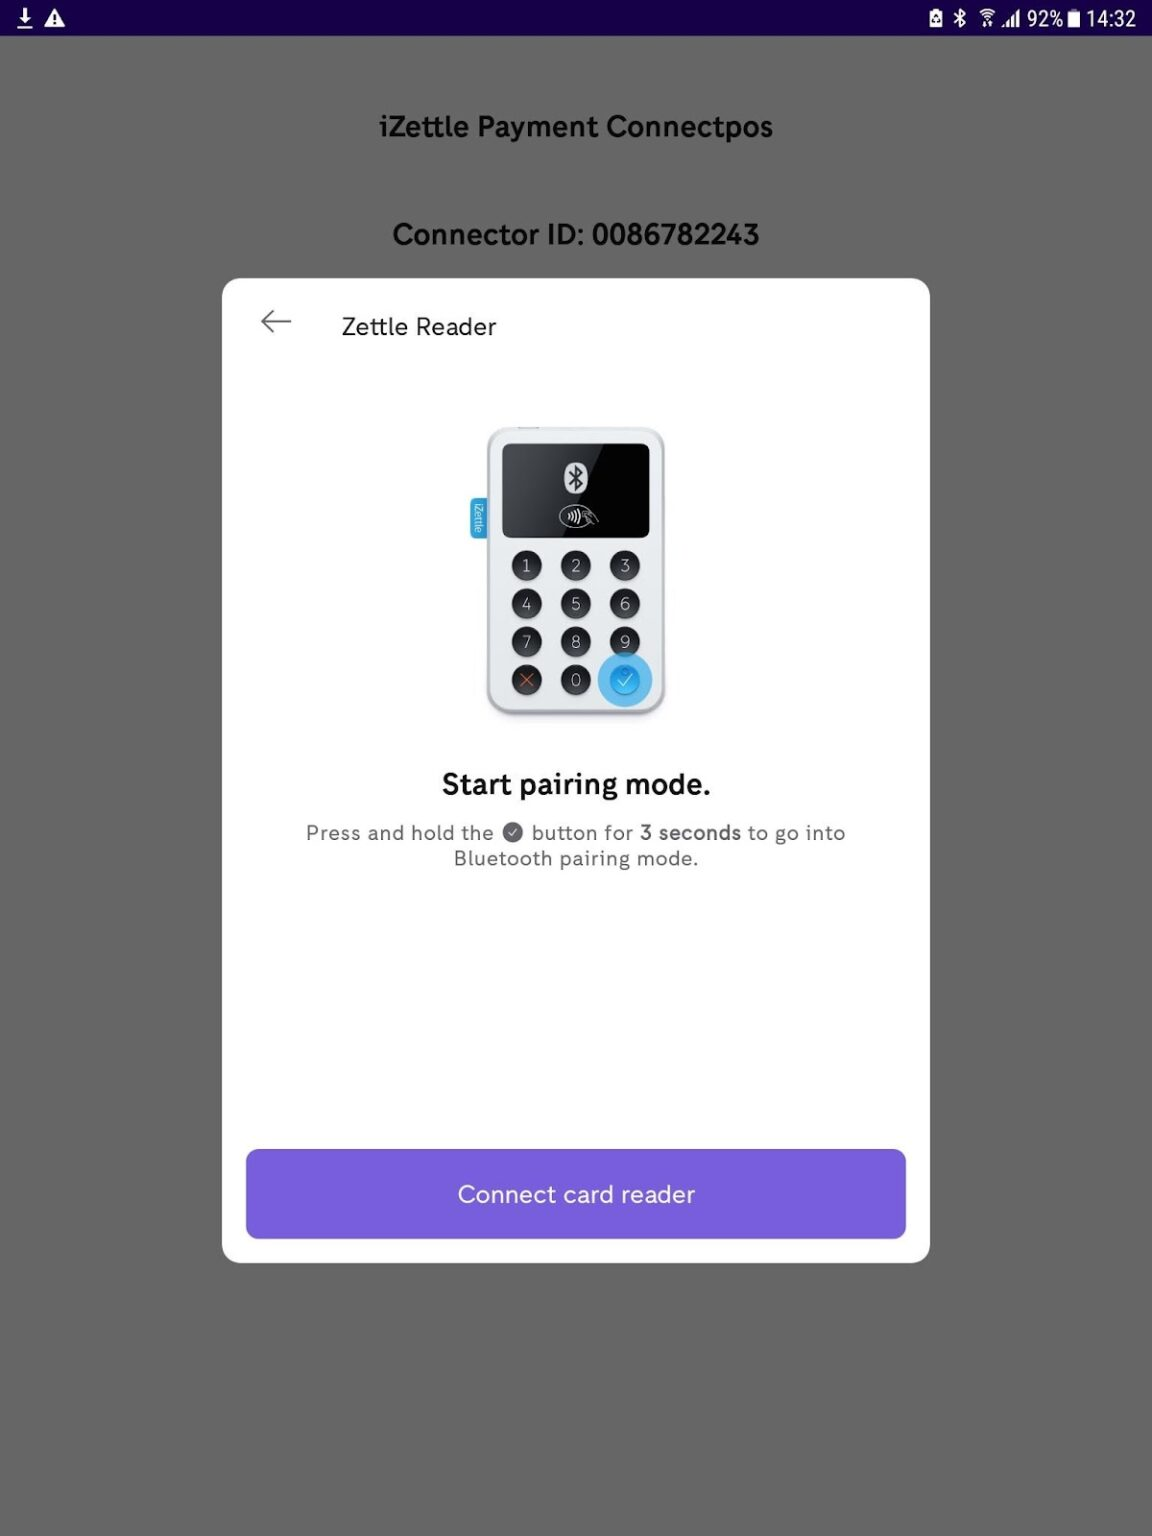
- Turn your iZettle device on, tap and hold the “V” button.
- On your iPad, select the device on the Bluetooth list.
- On your iZettle terminal, confirm connecting to iPad.
- After these steps, your iZettle device will be connected to your iPad.
Making Sales with iZettle:
- To start making sales with iZettle, please follow these steps:
- Enable “iZettle” payment in your setting: SETTING > POS SETTING > PAYMENT.
- Open Sell Screen. Add items to cart then select your customer.
- Tap on “Pay“, proceed to Payment screen.
- Select “iZettle” payment.
- Click on “Complete“.
- Input your iZettle account then login.
This step will be required once.
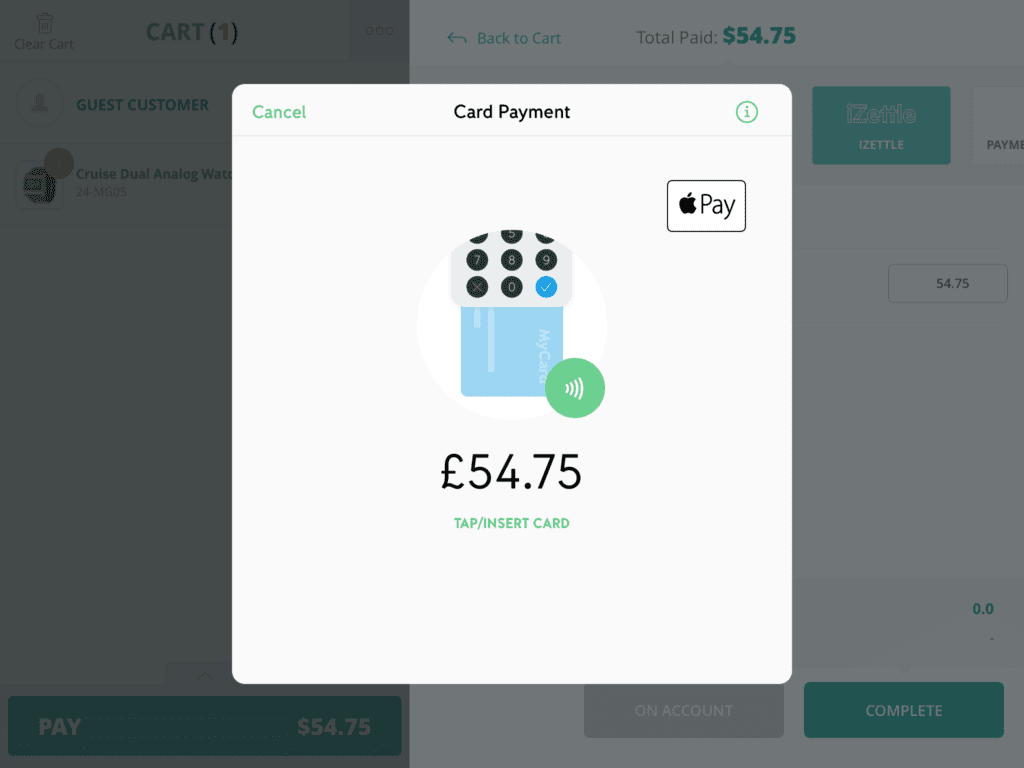
Your card reader will notify you to Tap / Insert Card.
Using ConnectPOS on Windows: #
Step 1: Follow this Drive link to request access using your Android device. After that, please notify us so we can grant you access permission.
Step 2: Once you have got access to the app, click Download > Download anyway > Open > Install.
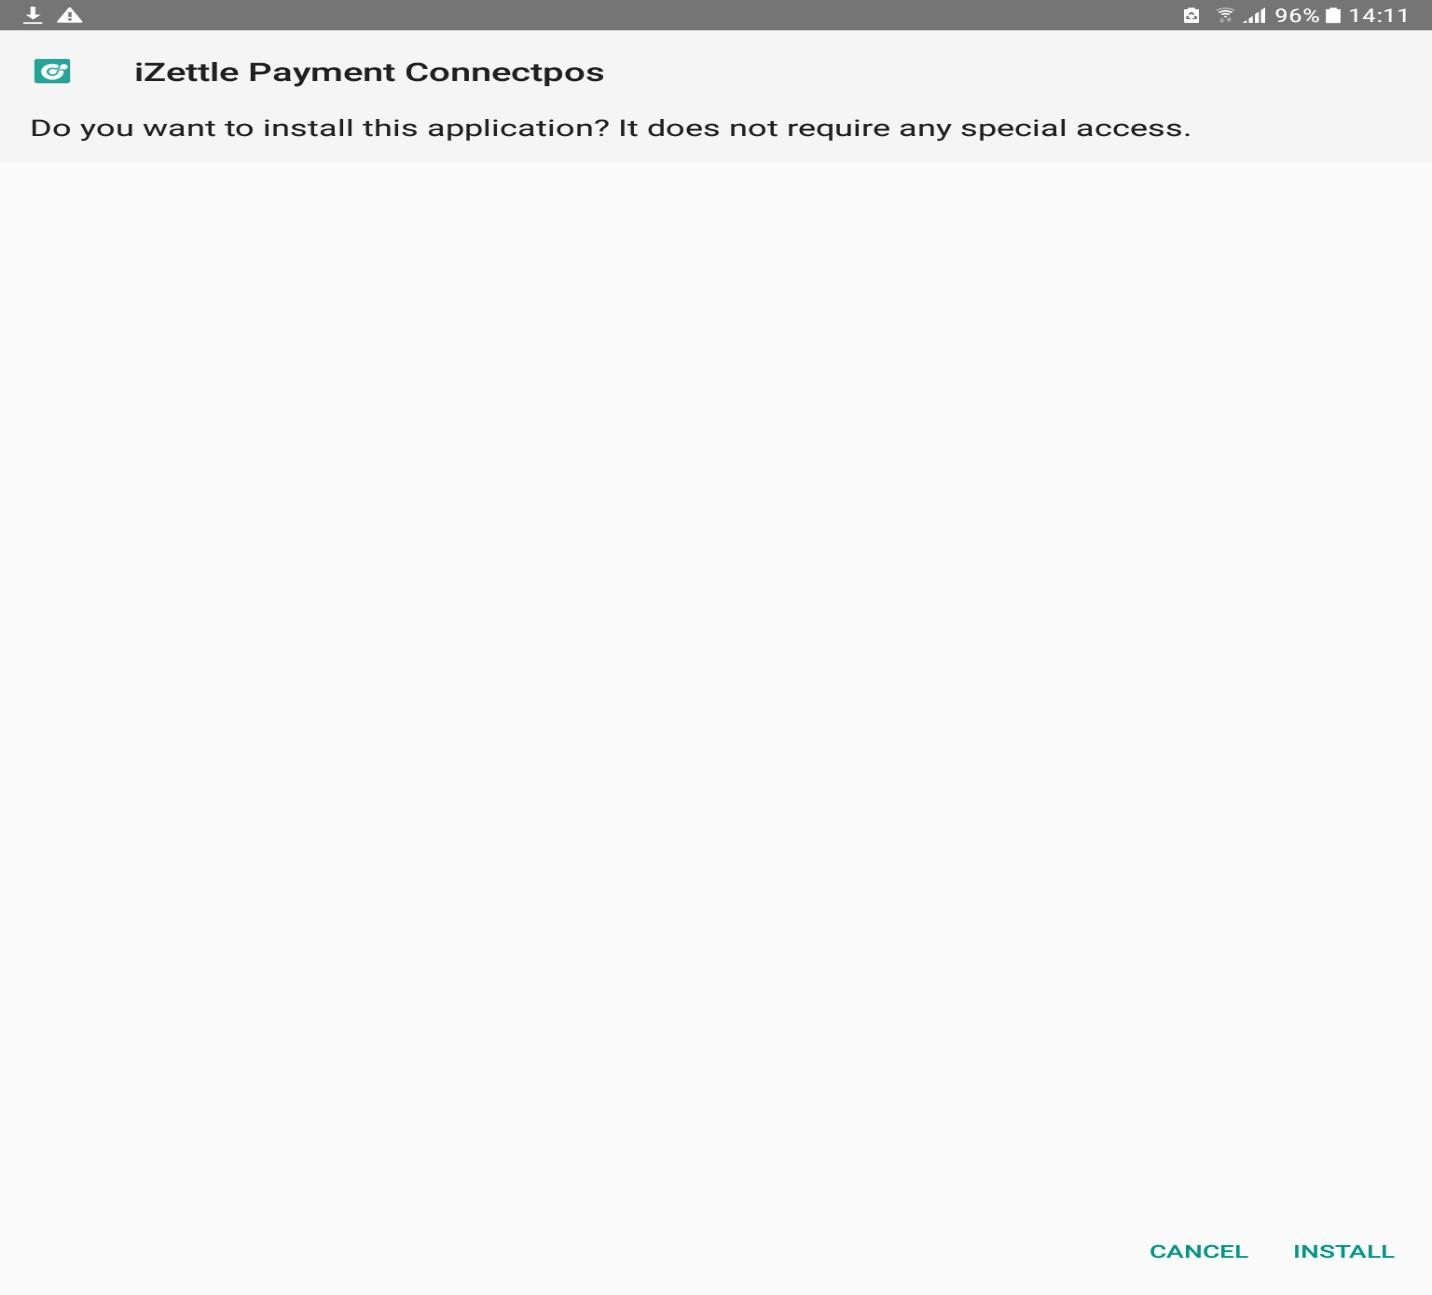
Note: Please turn on Unknown Sources in your device’s settings to allow the installation.
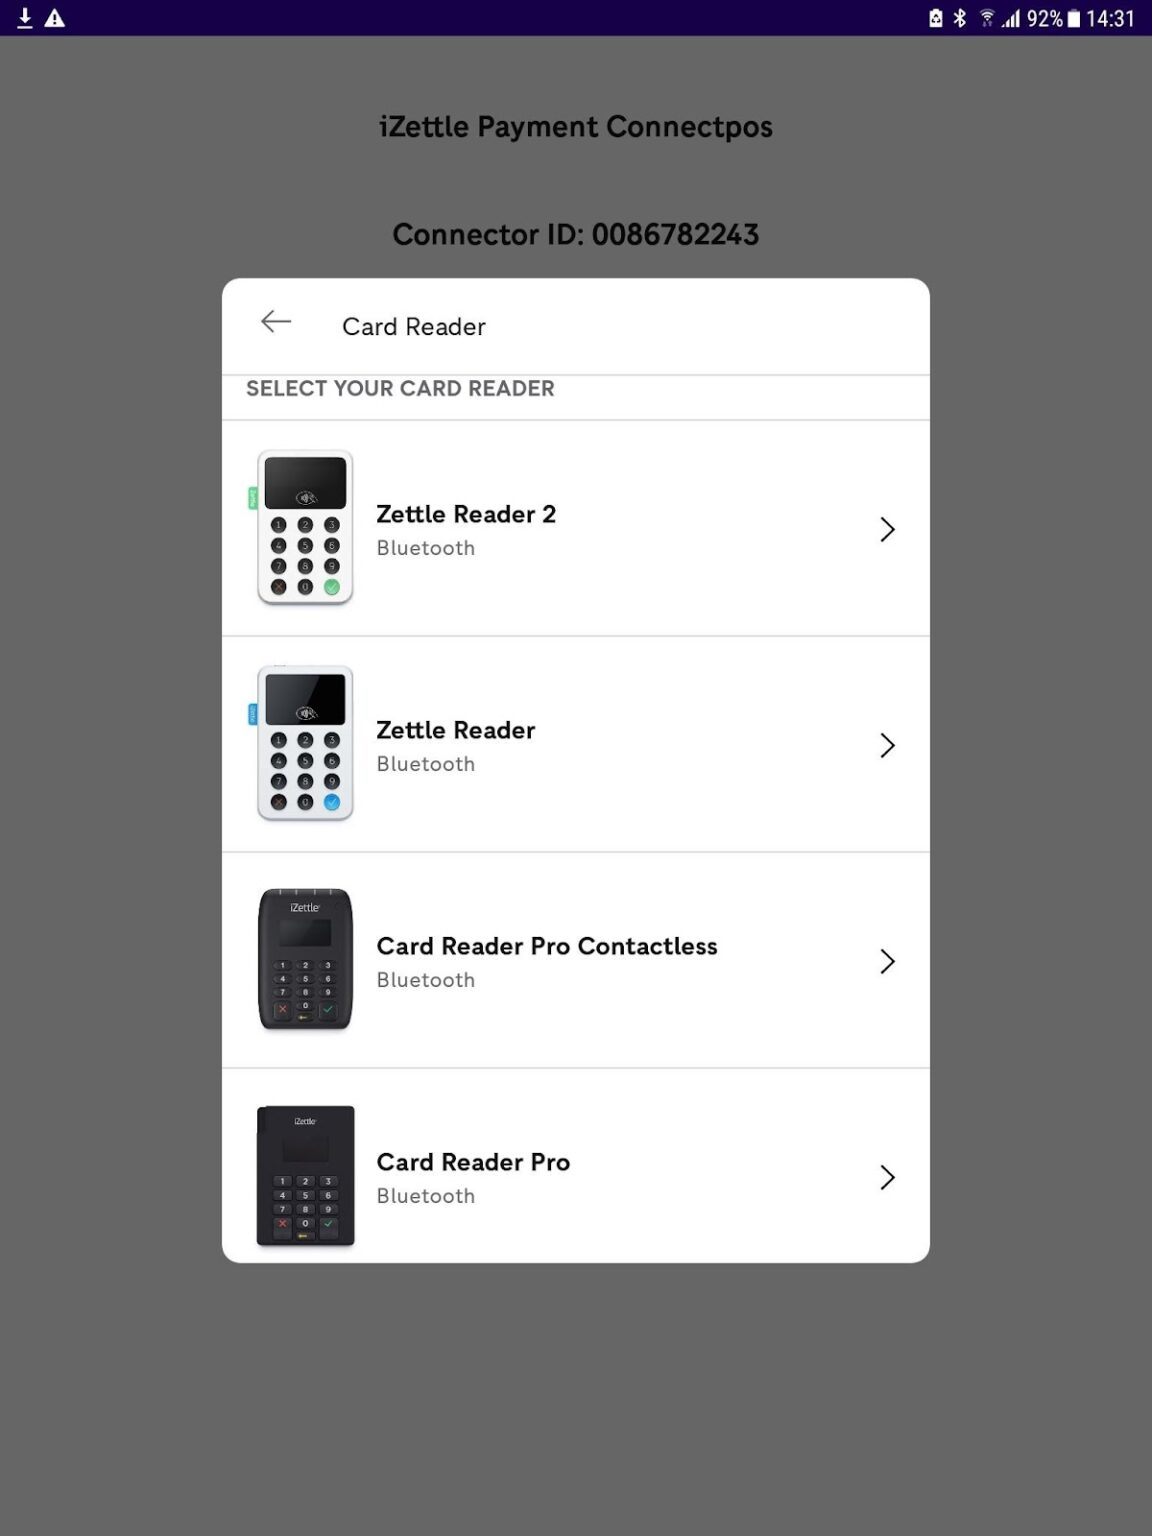
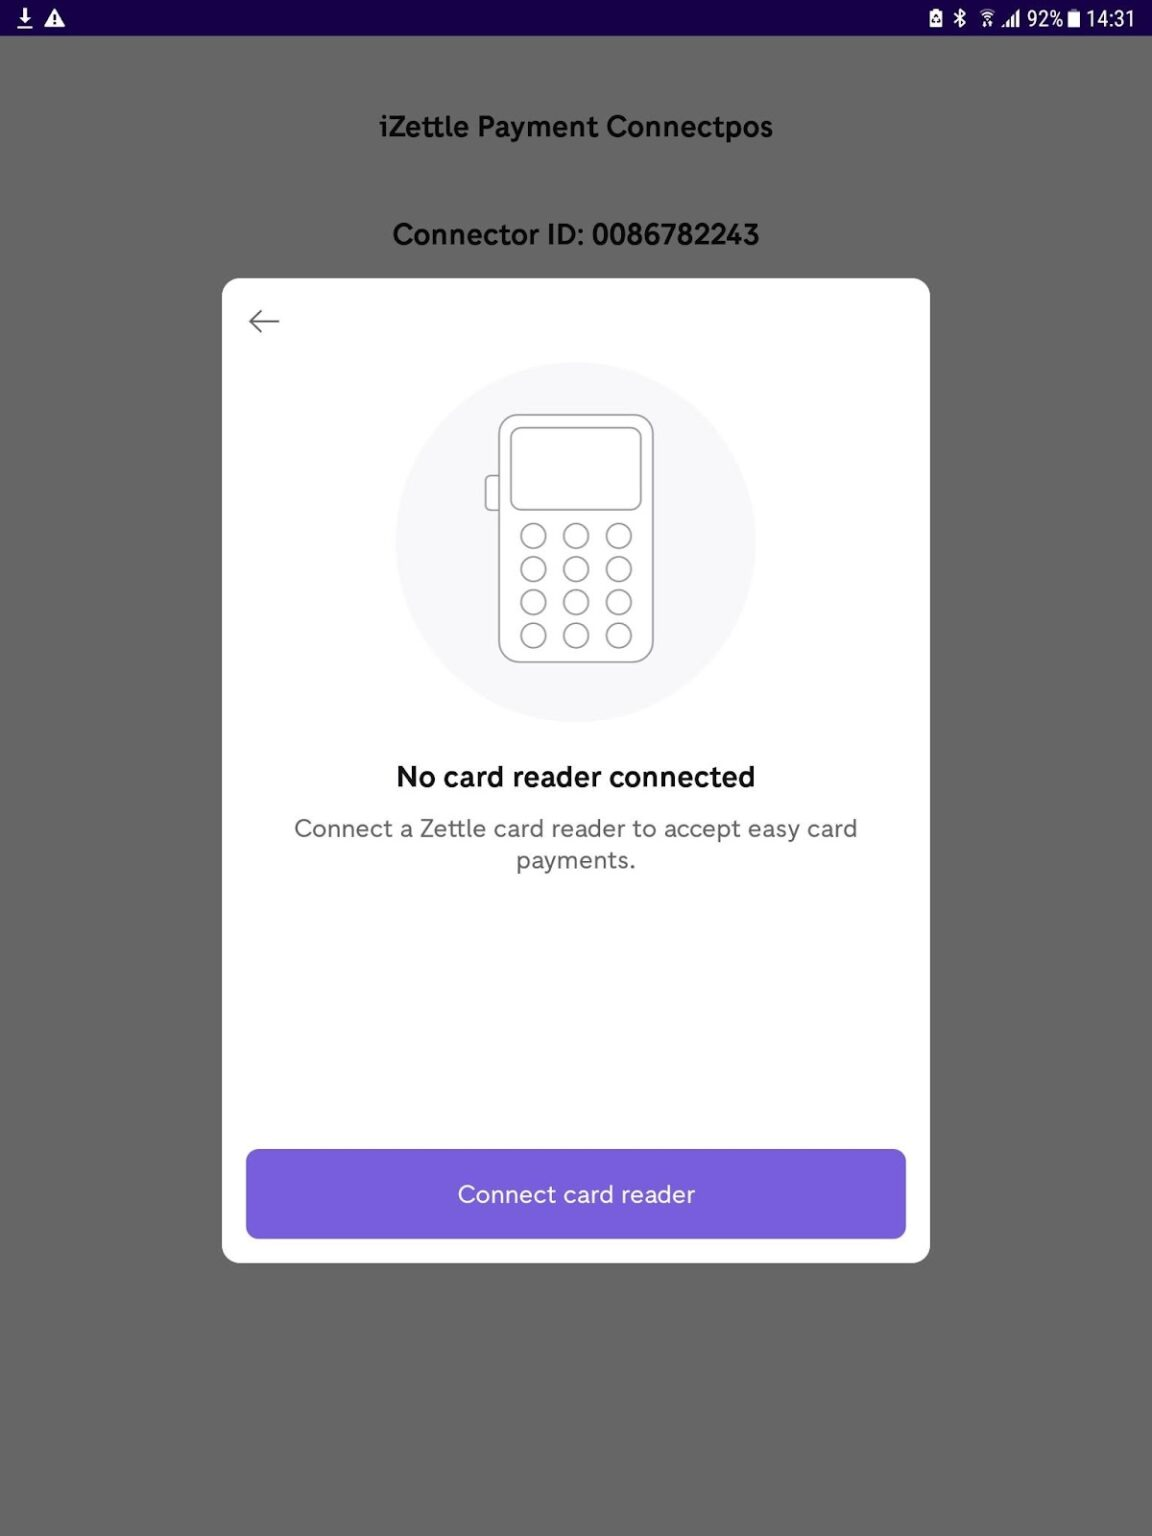
Step 3: Open the app and you will see Connector ID as in the photo below.
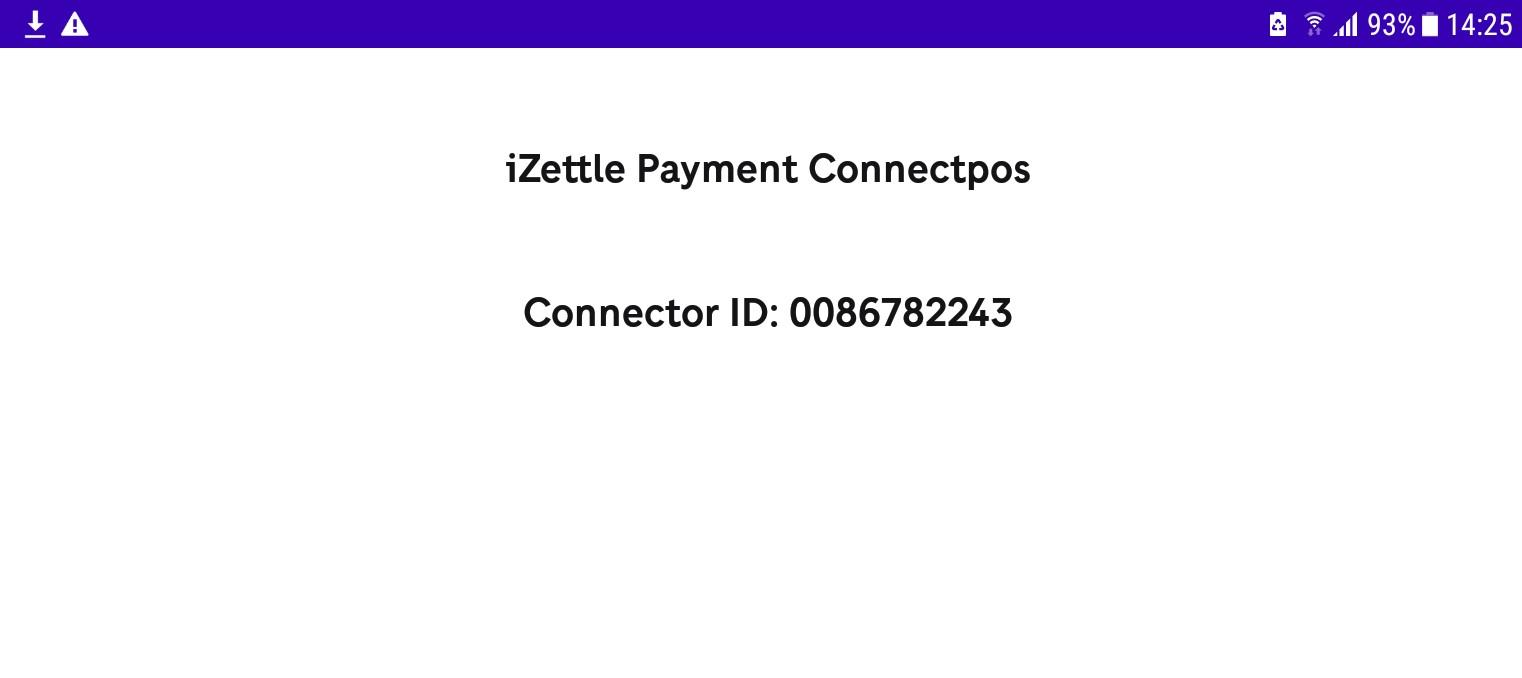
Note: Please let the Connector app runs on the background.
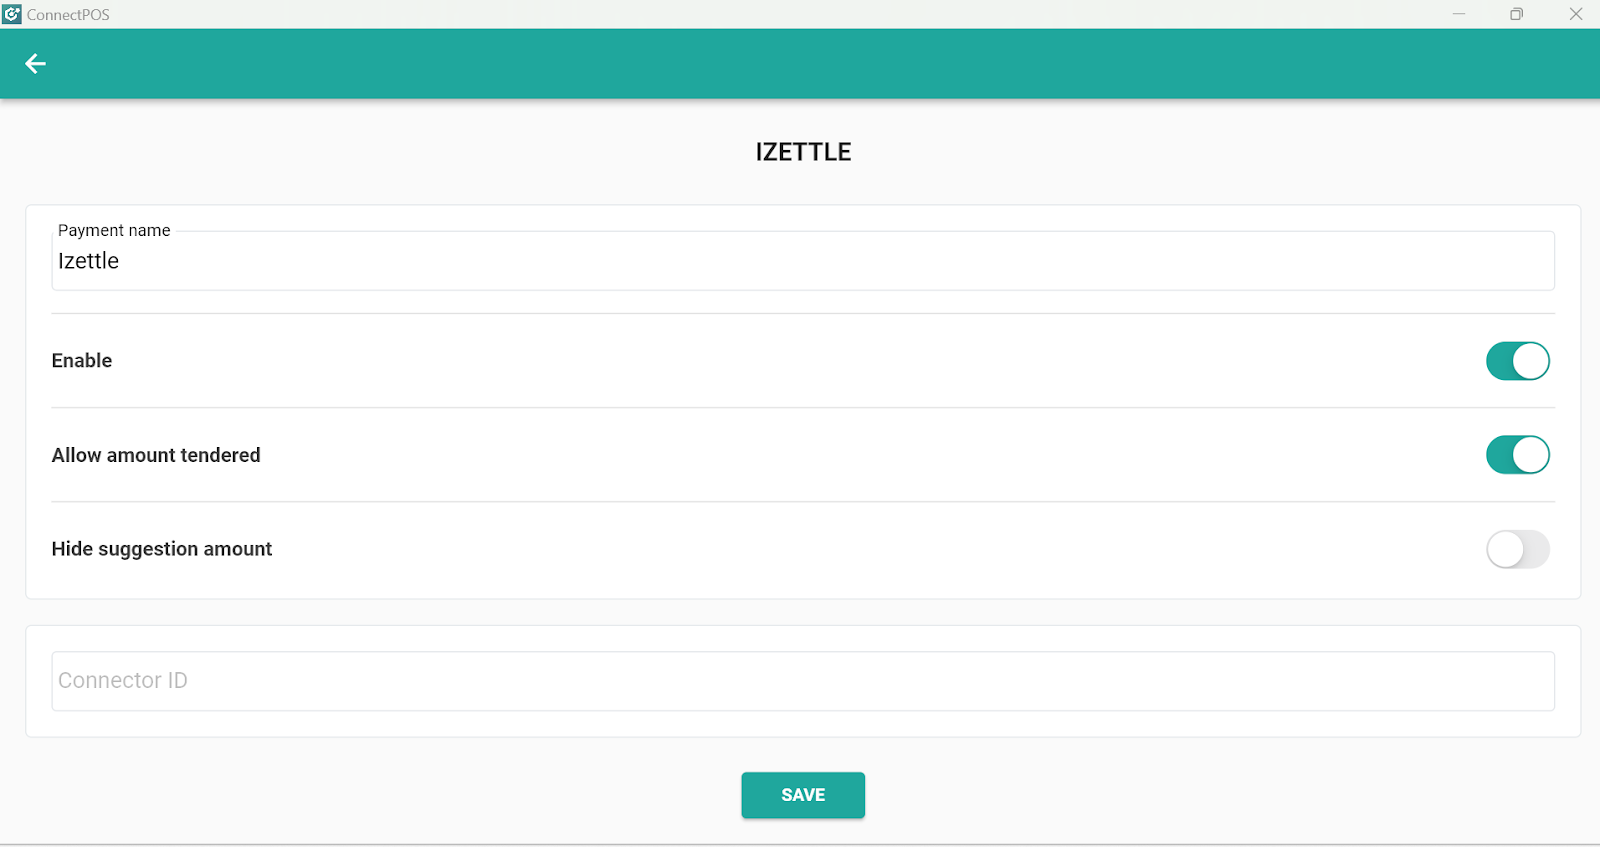
Step 4: On your PC, open Menu > Settings > POS settings > Integrated Payment, and click on iZettle or create a new iZettle payment. After that, and input the Connector ID on the Connector app > Save.
Step 5: Refresh the site and create a test order. In checkout screen, choose iZettle > Pay. After seeing the pop-up log into iZettle on your Android device, fill in your iZettle account credentials.
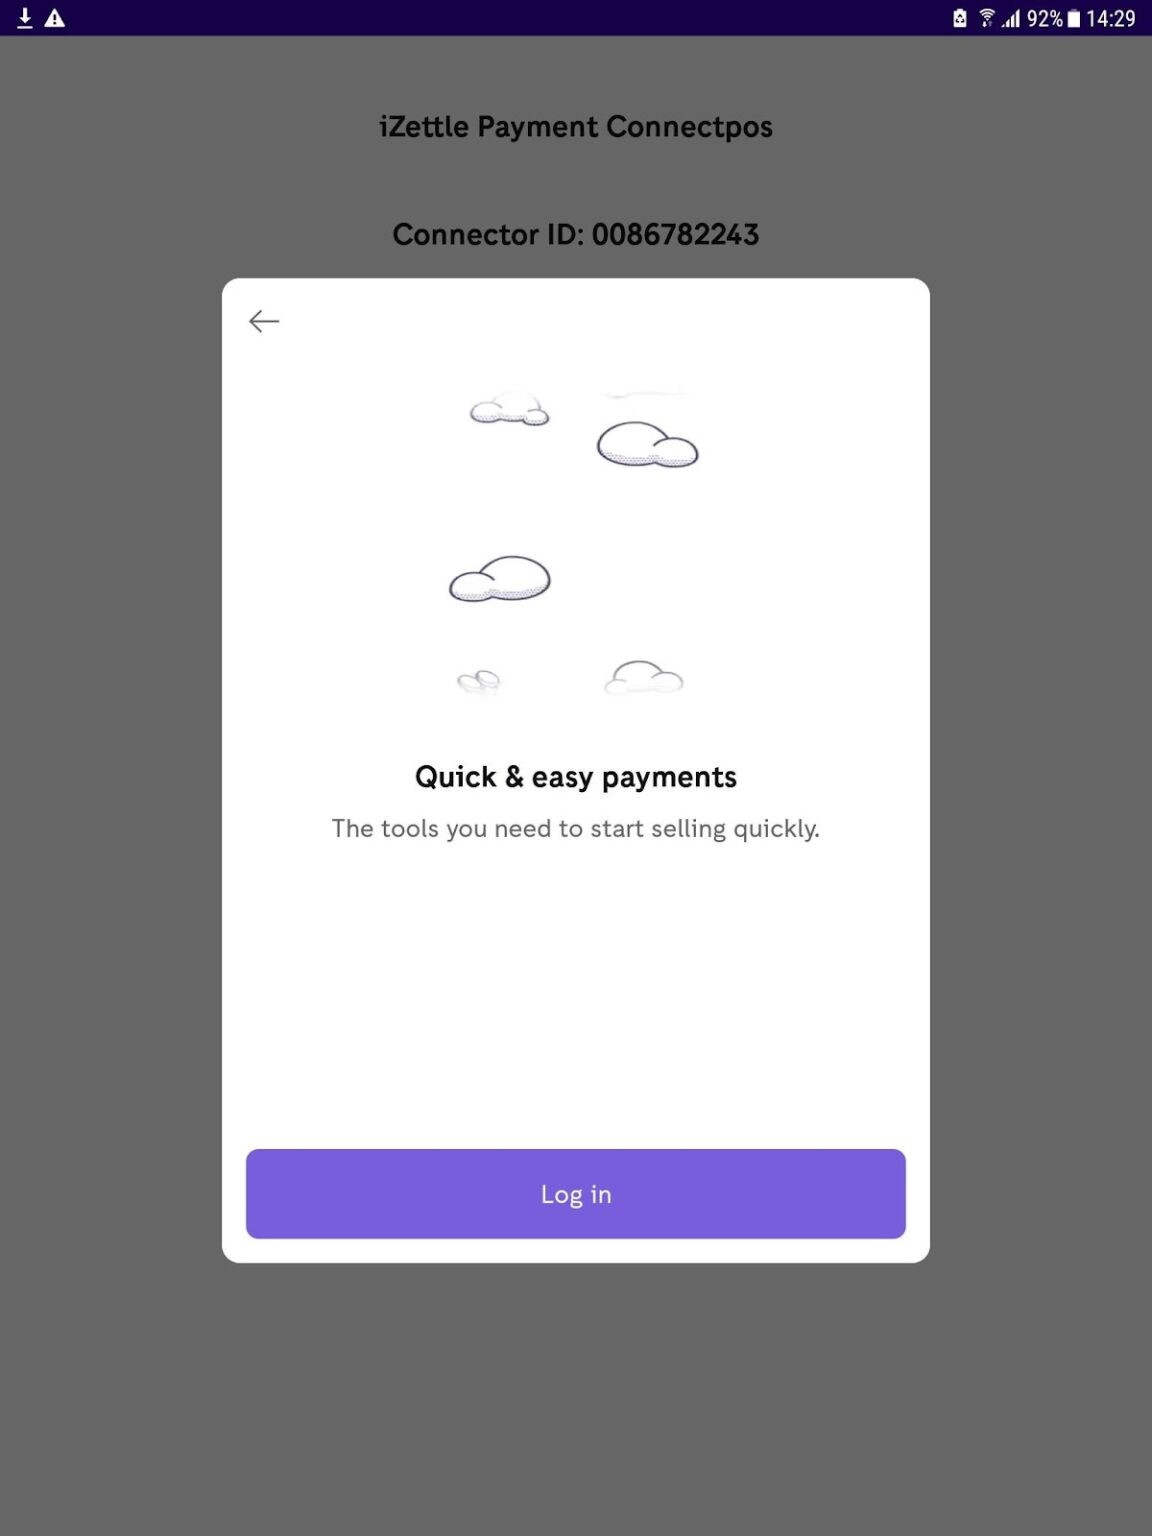
Note: You only need to log in once.
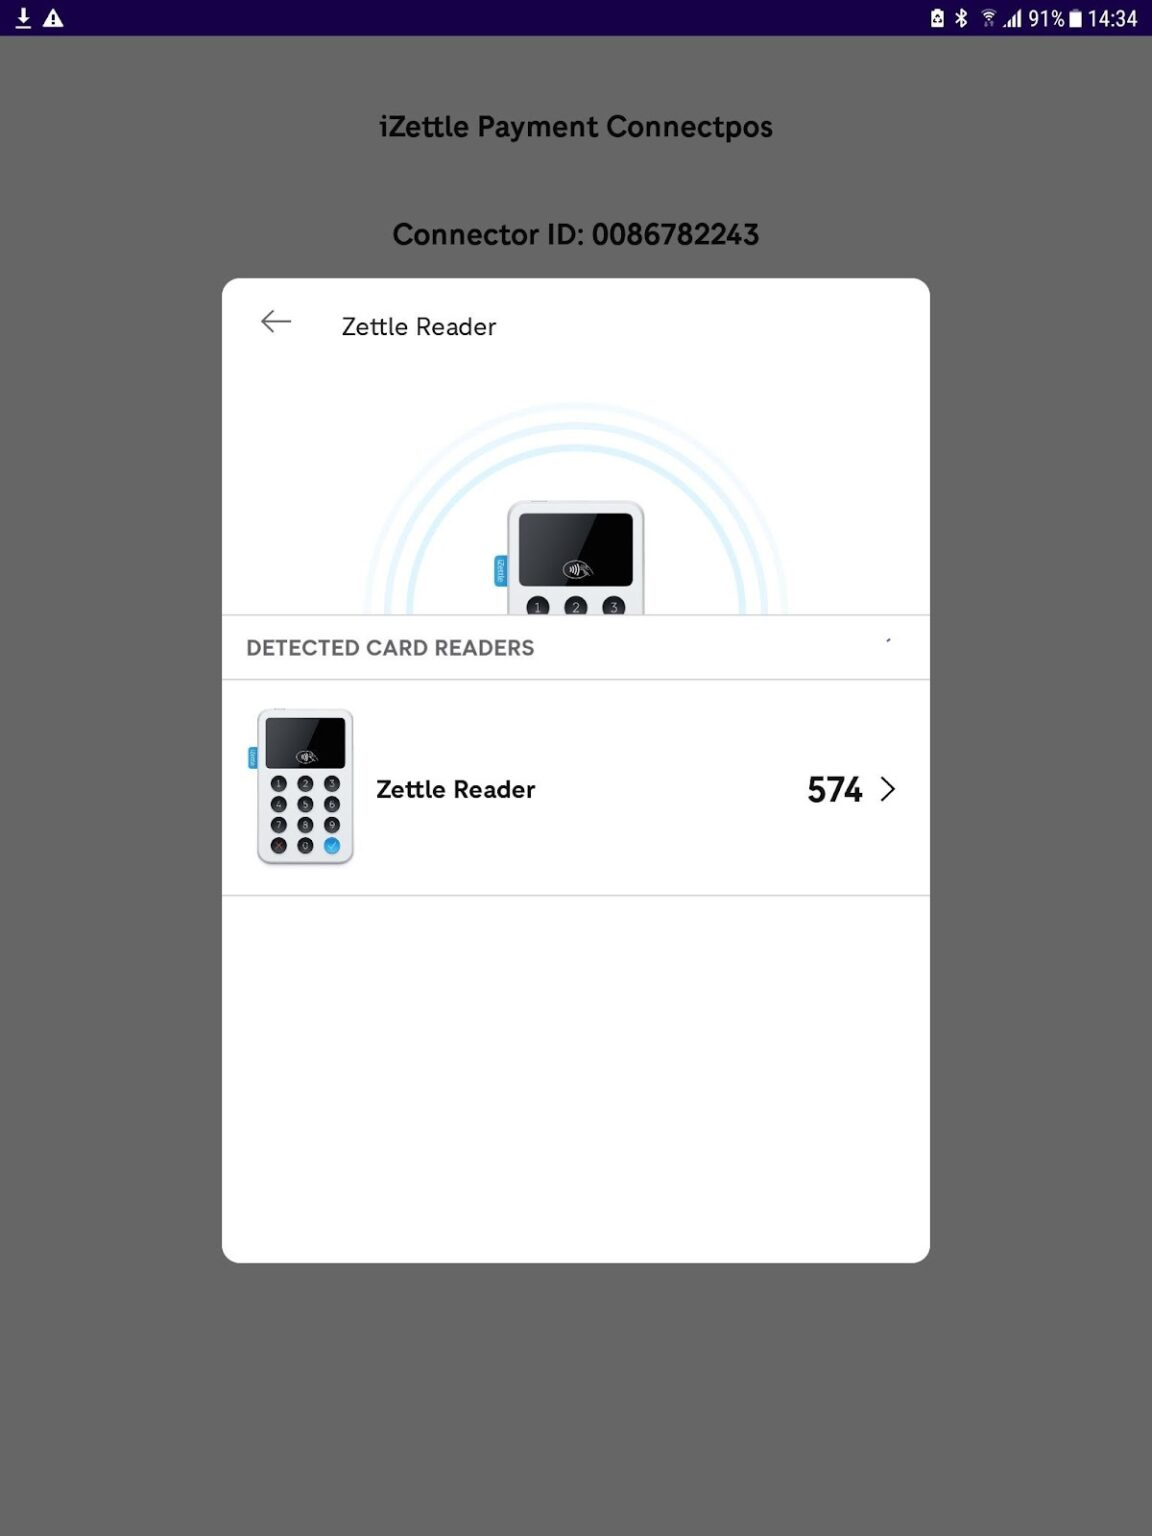
Step 6: Connect the Android device to the card reader.
Note: Make sure Bluetooth and Location are enabled when using the app.